How to Convert an Audio CD to MP3 at ZERO Cost
Version 0.6
This article is a tutorial that explains how to convert an audio CD to high quality MP3 files at no cost using Audio Grabber, a free CD ripper.
Mp3 files are the de facto standard of music players including iPod music players, Nokia phones and all digital players. In addition, MP3 files can not be protected by Digital Rights Management.
Windows Media Player 9 offers the option to convert to MP3 at a cost. Windows Media Player 10 allows it at no cost - but with not much customization.
DISCLAIMER
Proceed at your own risk! The information here is accurate to the best of my knowledge. I will not be held responsible if this document causes your computer to explode or burst into flames. In real serious terms, if any corruption of data, hardware damage or any other kind of damage/losses/etc. arises from the use of this document, I will not be responsible for it. If you don't like this, please don't read any further.
Installation
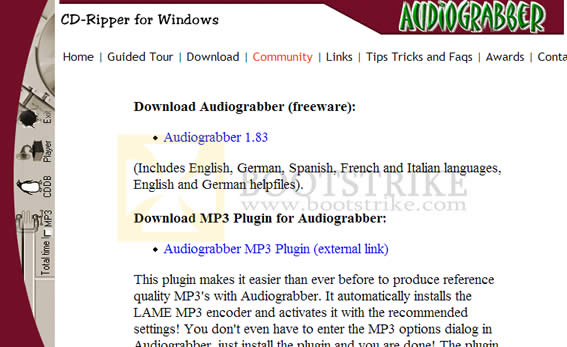
First, head to http://www.audiograbber.org/download.html and download Audio Grabber Audiograbber 1.83 (as of July 2010).
Download Audio GrabberYou will also need the Lame Encoder for higher quality MP3 encoding. Click the link in the same page labelled MP3 Plugin and download the plugin labelled "MP3 plugin - download now! (version 3.98.4 - freeware)".
You should end up with two files (depending on where you saved them).
- agsetup.exe
- ag_mp3_plugin_setup.exe
Let's install the main application first. Double-click the AGSETUP.EXE and follow default prompts.
You should see the Audiograbber link in your desktop after your installation. We're not done yet.
Now, before we launch the program, we need to install the Lame Encoder plug-in. This is as simple as double-clicking the ag_mp3_plugin_setup.exe you downloaded just now and installing it. NOTE: The latest version of AudioGrabber MP3 Plugin comes with Kikin adware. Click on "No, Thanks" if you don't want this adware as this is NOT required.
We're setup and done!
Configuring Audio Grabber
Put in an audio CD in your CD-ROM drive. Run the Audiograbber link in your desktop. This is what you should see:
The Main Window. The usages of (1) and (2) will be shown below.Click OK. Click on the MP3 button indicated by the "1" box in the image above
MP3 Settings WindowConfigure as follows
- Grab to: Direct Rip and Encode to MP3 file
- Internal Encoder: Checked
- Encoder: LameEnc DLL Version 1.32 (29/7/2004) Engine 3.96 (may be different if you have a newer version)
- Constant Bitrate: Select at least 128kbps. Select 192kbps for higher quality. Selecting more than 192kbps has little or no difference in quality.
- Quality: Joint Stereo
Click OK. The Mp3 button on the top should now have a checkmark. We're done configuring!
Mp3 Encoding Finally
The list that you see in the main window is the list of tracks. Place a checkmark on the tracks that you want to convert to MP3. If you see a blank list, ensure that you inserted an audio CD in your drive and perform a refresh by clicking on CD > Refresh Track List.
Hit the Grab button after you are done and encoding begins!
Encoding StatusYou will see the status of the encoding. Depending on the number of tracks, CPU speed and CD-ROM speed, this can take some time.
After it is complete, you will be brought back to the main window.
Playing the MP3 files
You can find the files in the C:\audiograbber folder. Edit the names and properties by right-clicking the file, and selecting Properties. Click on Summary and you should get the following screen.
Click on the value column for the row you want to modify, add your text and click Apply. Your changes will be saved.
Problems
1) |
Why does it take so long for the encoding to complete? |
Last Updated 7th July 2010.
Errors? Omissions? Need Help? Know something? Post your queries in the comments below.
This document is Copyright(©) 2001-2010 by G.Ganesh.
| new post | [ expand all ] |
9 comments